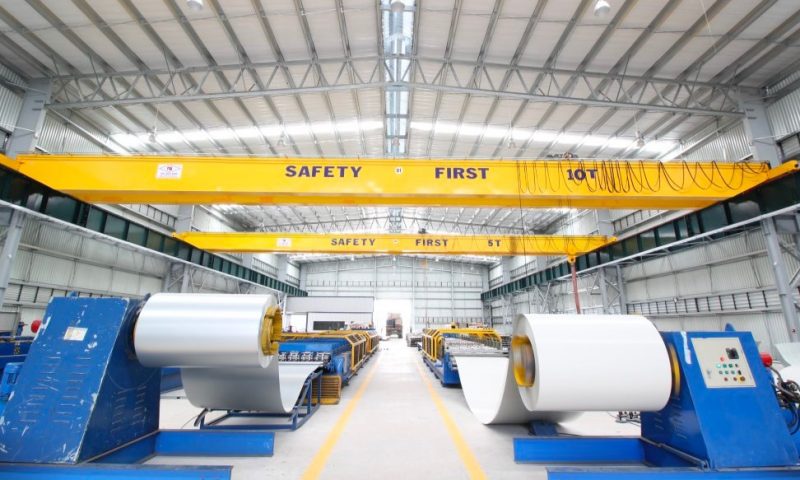
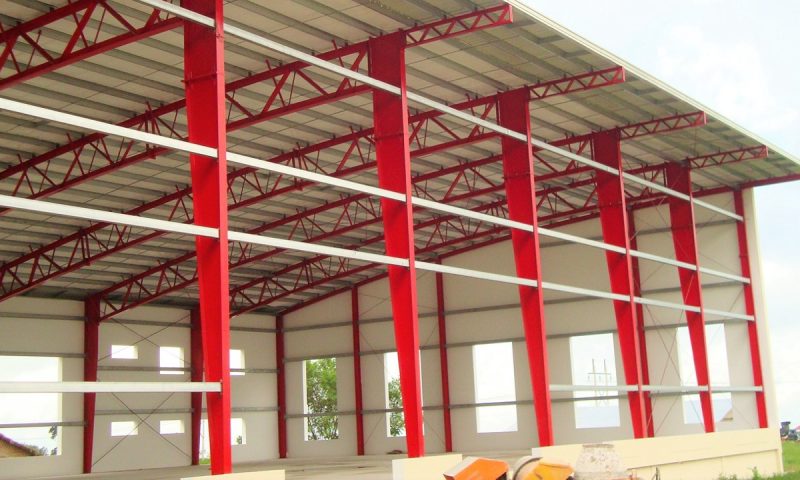
To ensure the quality of the steel structure when put into use, specialists need to inspect each component according to the applicable standards. Steel structure inspection encompasses all tests and checks on raw materials for the steel structure, welding materials, bolt connections, fireproof coatings, and other materials. Let’s explore the process of inspecting steel structures according to the standards in the following article with Pebsteel.
See more: The Process of Structural Steel And Plate Fabrication
1. Steel structure inspection for size and flatness
Size deviation is the paramount factor in examining the dimensions of steel structures. The size deviation of steel components must adhere to the specified measurements outlined in the design drawings, and the permissible values must align with the technical requirements.
Ensuring the straightness of two directions is highly imperative. The rationale behind this is attributed to the fact that components such as steel girder and steel trusses often exhibit tendencies of vertical deformation within the plane and lateral deformation outside the plane. Additionally, steel columns are susceptible to inclination and distortion along the column body.
To assess the flatness of the steel structure, technicians can initiate the examination through visual inspection. In the process of identifying issues, the technician should stretch an iron rod or a thin wire between the beam and the truss fulcrum, subsequently measuring the inclination and deviation at each point. The inclination of the steel column can be measured using a theodolite or a plumb weight, while the deformation of the column can be gauged by employing an iron wire or a thin wire stretched between the steel member’s fulcrums to measure.
See more: Overview Structural Steel: Types, Properties, And Applications 2023
2. Steel structure inspection for connections
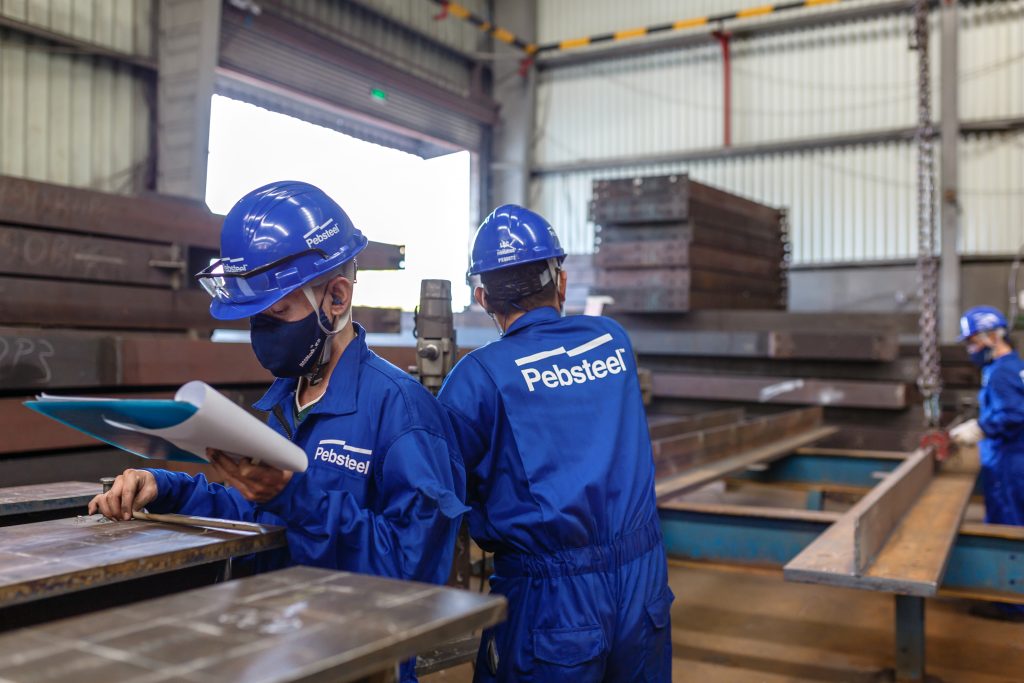
If there is a connection plate, it is essential to verify whether the size and thickness of the connection plate meet the requirements. Specialists can employ calipers to assess flatness, measure bolt holes, etc., and concurrently identify cracks, localized defects, etc.
The inspection of bolt connections can be conducted through a combination of visual inspection and percussion with a hammer, whereas the tightness of bolts can be reassessed using a wrench. Particularly, in this stage, it is crucial to meticulously examine the connections of high-strength bolts. The quantity, diameter, and arrangement of the bolts must also undergo scrutiny to avoid discrepancies.
Weld joints can be inspected by using an ultrasonic flaw detector or radiographic testing equipment. An evaluation of the exterior configuration of the joint is required immediately after finding any internal faults within the weld joint.
3. Corrosion testing
Corrosion is the process of material deterioration resulting from chemical or electrochemical reactions with the environment. Steel materials are highly susceptible to rusting in a humid environment. Following corrosion, the steel’s cross-sectional area weakens, leading to a significant reduction in load-bearing capacity. Employing thickness measurement devices and vernier calipers is an effective measure for inspecting and detecting corrosion in steel structures.
4. Fire retardant paint testing
The testing of fire retardant paints is a pivotal phase in ensuring the safety of structures upon their utilization, particularly for specialized projects subjected to prolonged exposure to high temperatures. Concerning the standards for fire retardant paints, the width of cracks on the surface should not exceed 0.5mm, and the thickness must meet the design requirements for fire resistance limits. Additionally, the thickness of the thin portion should not be less than 85% of the design requirements.
5. Non-destructive testing (NDT)
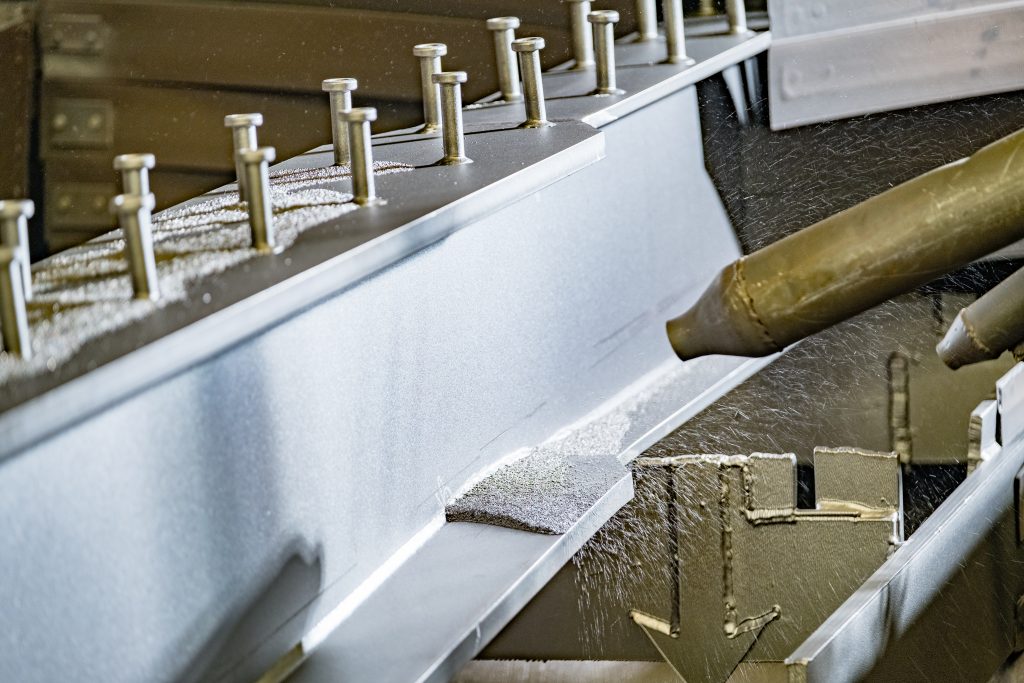
Non-destructive testing utilizes the characteristics of sound, light, magnetism, and electricity to detect defects or inconsistencies without causing damage or influencing the functionality of steel components. This method can precisely determine the size of defects.
Depending on the material, structure, manufacturing method, working environment, usage conditions, and specific issues of the tested component, one can anticipate the type, shape, location, and orientation of potential defects. Subsequently, an appropriate non-destructive testing method will be employed. Below are some commonly used non-destructive testing methods:
- Ultrasonic Testing (abbreviated UT);
- Radiographic Testing (abbreviated RT);
- Magnetic Particle Testing (abbreviated MT);
- Penetrant Testing (abbreviated PT);
6. Steel structure performance testing
To assess the performance of the steel structure, specialists undertake the following stages:
- Steel Mechanics Testing: This stage involves the examination of the mechanical properties of steel used in steel structures, such as tensile strength, flexural strength, impact resistance, hardness, etc.
- Mechanical Testing of Fasteners: This stage entails the assessment of the mechanical properties of fasteners used in steel structures, such as the coefficient of friction, axial load, etc.
- Metallographic analysis: This stage encompasses the analysis of the type of steel used in structures, including microscopic structure analysis, microhardness testing, etc.
- Chemical composition: This stage requires experts to conduct an analysis of the chemical composition of the type of steel used in steel structures.
- Stress test: This test involves checking and monitoring stress changes in key components during the installation and disassembly of steel structures.
7. Conclusion
The above provides detailed information about the standard procedure of steel structure inspection. Please contact Pebsteel by phone at +84 908 883531 or by email immediately at Marketing@pebsteel.com.vn if you require comprehensive solutions for pre-engineered steel buildings and steel structures.

